Building 3D printed Hawker Siddelley 52' Gondolas
Briggs Models (www.briggsmodels.ca) announced a while back that they were going to produce CN 52' Hawker Siddelley welded gondolas in their HO line. I jumped at the opportunity to acquire a few of these kits as these gondolas were in regular service to Flin Flon hauling concentrate and other stuff.

I got an email that the kits were available so I ordered 5 kits from the website. It was straightforward and I received a well packed box with the kits in sealed bags. A few back and forth messages to Jeff Briggs got me a few specifics about the kits and off I went. He indicated that the instructions will be posted to the website in the near term. That said these are pretty straightforward to build.


The photos shows what you get with each kit. Pretty much everything except trucks and couplers comes with the kit. In addition to the trucks and couplers you will need to supply cut levers, wire grab irons for the sides and a few other small bits and pieces.
The underbody details are printed in place, and the rendering is pretty decent. Since you can't see these details in regular service they are more than sufficient. It will greatly speed up assembly since you don't need to fiddle with wire and the brake parts. Another win for 3D printing! I would say this is approaching a "shake the box" kit for ease of assembly. The only wire bits required are 3 pieces of wire for the linkages between the brake clevises.

The floor and sides come as a pair of keyed parts that fit together snuggly. By hiding the joint at one of the side ribs it is invisible. This is a well thought out kit. The seam in the floor is a bit more obvious but will disappear with painting and weathering.

The kit includes a piece of brass stock that fits between the floor and underframe. I will add a bit more weight to increase the car weight in whatever nooks and crannies I can find. I plan to use these cars for concentrate service so they will have fiberglass covers or tarps that will allow more weight to be hidden in the cars.
I elected to keep the underbody separate from the body for painting and will glue the underframe to the body afterwards. One drawback of this is that you can damage the corner steps, which of course I did on a couple of the cars. I replaced them with staples that were bent to shape. they are a bit more resilient to handling as well.

The first kit was fully assembled after about 2 hours of work. The majority of that was drilling mounting holes for the grab irons. The other four cars went together quickly. Suddenly I have a fleet of gondolas!

I washed the cars with soapy water and primed them with Tamiya light grey fine surface primer. This is great stuff to work with, giving nice coverage with no obscuring of the details. I painted the body with TLT CN red #12 which is a good match for the prototype. I painted the interior of the car a rusty colour using Badger Modelflex rust. The interior of the car will get an application of Pan Pastel browns in case they are running without the covers. The underbody was painted flat black.

I sprayed some gloss coat on the car sides and used Microscale MC-4121 CN gondola decals. These will be sealed with another gloss coat, after which the cars will get a coat of Vallejo Matt. I plan to use a variety of washes and Pan Pastels for weathering. It will be nice to have modern gondolas in concentrate service.
I'll continue with further photos as I get the cars completed and weathered.
June 10/21 update - 4 out of 5 cars are decalled and partially weathered. Car #5 is getting there.

June 11/21 update - 138044 and 138130 are on temporary trucks, waiting on my order of Kato trucks. I also need to find some long shank scale head couplers as the medium shank couplers are too short and don't swing as they catch on the end sills.


June 25, 2021 Update


A few more weathered gondolas are done. CN 190464 got Vallejo Game Effects 72.136 Dry Rust applied with a sponge to get the typical banged up sides seen on gondolas. I'm pleased with the effect, it might start showing up on other cars in the fleet.
July 8/21 update
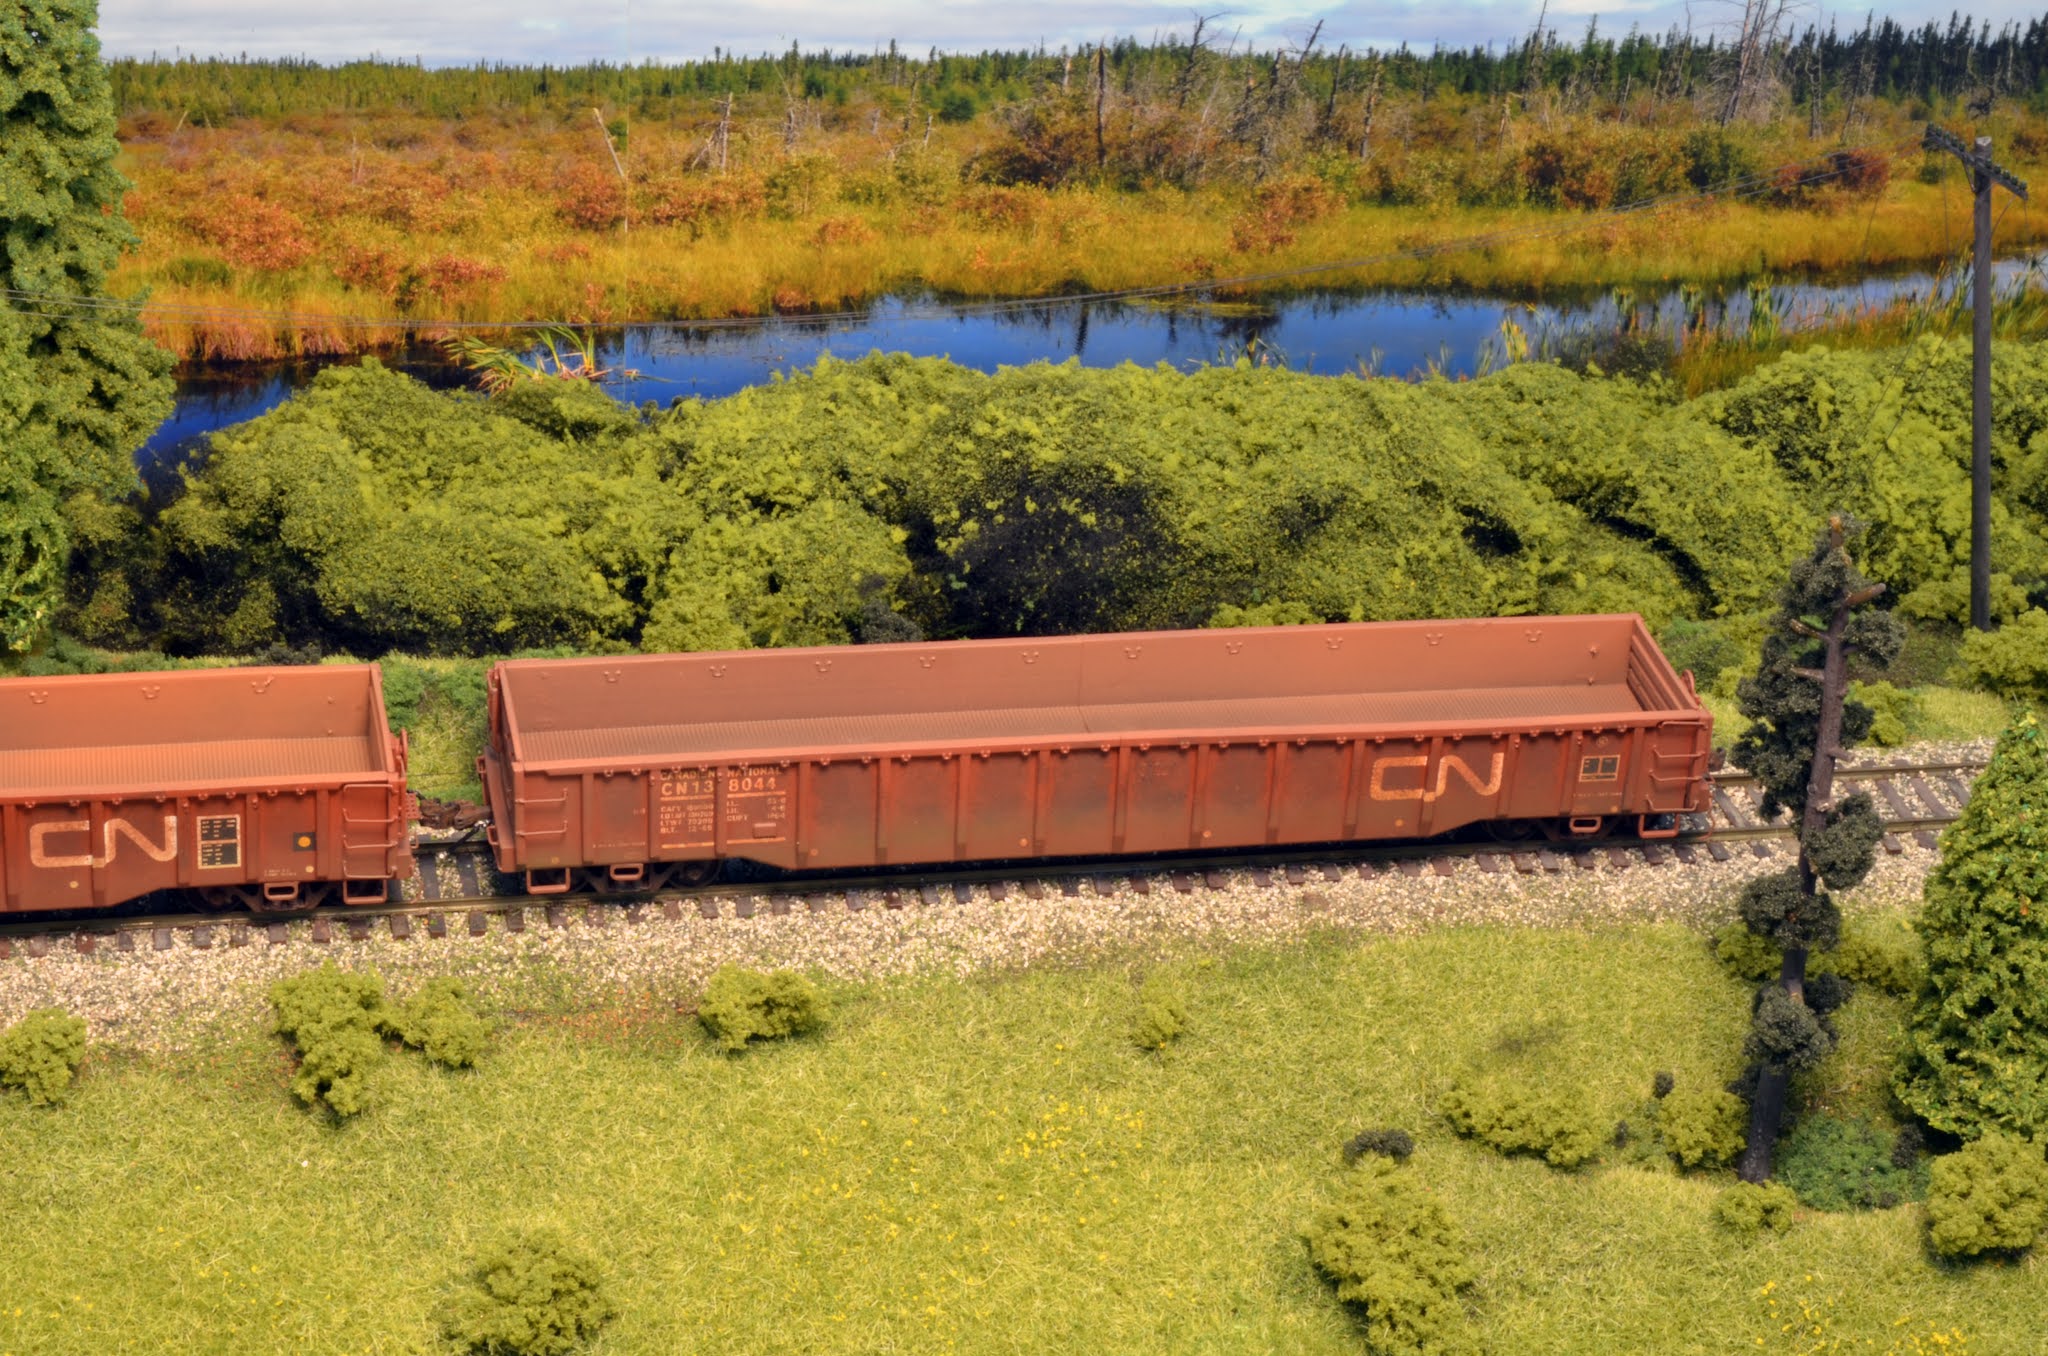
A few scenic shots of the pretty much completed cars. I'm quite happy with how they have turned out.


.


I think this shows just how far resin printing has come, these look superb and despite coming with the tell-tales where they’re affixed to the machine, that need cleaning up, they’re so crisp.
ReplyDeleteHonestly I can't really see any "grain" to the prints although it does show just a bit in the photos. Once the cars are decalled and weathered you won't see it. The resin printing method seems to be the way to go for detailed bodies and such, especially with flat parts.
DeleteWow! those are real nice
ReplyDelete