The Last Auto Transporter
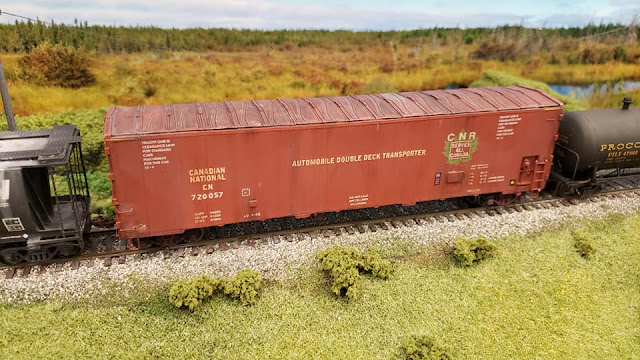
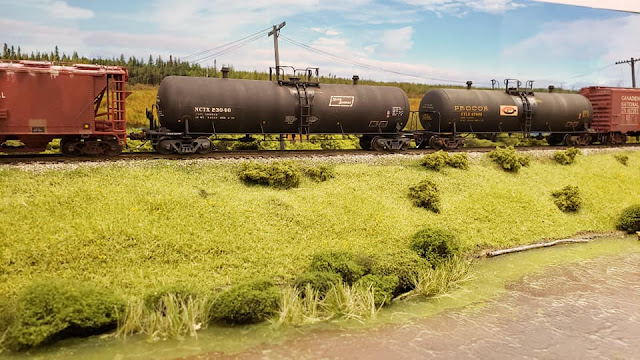
Previously I have blogged about my CN auto transporter build project. I have completed 4 cars so far in the CN noodle scheme. I have a 5th car that I was going to do as a noodle scheme car, but a few things got in the way.
The biggest hurdle to finishing the car previously was that the paint went on rough when I was airbrushing this car. I elected to try sanding down the paint using 1000 grit sandpaper. The sandpaper was trimmed to the width of the side panels so I wouldn't affect the rivet details. I managed to salvage the car without having to strip and repaint it. The roof and ends are still a bit rough but this will be hidden with weathering.
While going through the Canadian Freight Car Gallery looking for prototype inspiration, I came across this photo <here> that showed one of the auto transporter cars was still in the maple leaf scheme in 1978 - close enough to my early 1980's timeframe to justify having one in the fleet.
After I got the rough paint sanded off I decided to do some pre-shading, inspired by the results Mattieau Lachance has had with his work. I used some thinned Vallejo dark grey (71.110) to highlight the panel lines, doors and roof panels. After painting the car this gives a very subtle colour variation to the car.
Model Railroad Hobbyist has a good acrylic paint conversion table for getting railroad colours with the new generation of acrylic paints. Their formula for CN red #11 is 2 parts Vallejo 71.105 and 1 part Vallejo 71.038. I find this is a good match for the older CN red used on pre 1961 cars. I also added some flow enhancer as well to improve the paint application. I elected to use Pledge Restore acrylic floor polish to give the car a gloss coat for the decals. I have read good things online about using this product. It went on smoothly and gives a nice gloss finish for the decal application.
I recently had a custom run of these auto transporters done by Sylvan Scale Models (sorry, they are sold out now) and also had some extra decals done. I used one of these decal sets for this car, using the photo on Canadian Freight Car Gallery as my guide. I added ACI labels and wheel dots as per the prototype. I also kitbashed a Plate F decal for the car as these were not part of the original car lettering.
I used a Plate C label and cut out the C and used an F from a locomotive decal set. Decal bashing millimeter scale lettering is more than a little bit challenging. Once the decals were sealed with another gloss coat I sprayed Tamiya TS-80 matt finish to give a good starting point for weathering.
Once I was happy with the roof I moved on to using the oil paint pinwash effect I showed <here> to get a well aged look to a car still running around in its original 1959 paint in the early 1980's. I used a variety of black, grey, umber and sienna oil paints to get the effect I wanted. When the oil paint dries it gives a nice flat grimy look to the car.
I'm still contemplating whether to airbrush some additional road grime on the car but overall I am happy with this car. I'm calling it "the last auto transporter" but you never know, I am a bit tempted to do another one in the CN "Auto-With-You" black and white passenger scheme. I do like these cars and the kits are a fun build.


Comments
Post a Comment